Documentation
Documentation for the 3Flatline Dixie code scanner.
AI Vulnerability Researcher - Binary Ninja Plugin
The Dixie Binary Ninja plugin is one method of leveraging the Dixie AppSec Engineer platform and provides descriptions and vulnerbility detection for decompiled code. The integration leverages the combination of the Dixie engine's superior vulnerability scanning capability for the C programming language and the Binary Ninja psuedo-C decompilation output.
For a quick overview of the functionality of the plugin please watch this video (note: this was recorded in the old "dock" method in Binary Ninja, but the plugin has since been updated to the "sidebar"): https://www.youtube.com/watch?v=7IEUEgoZC9Q
Note 1: use of the plugin requires a subscription to the Dixie platform.
Note 2: There is a subscription level specifically for the Binary Ninja plugin. While this may provide some level of CLI access initially, this will not be the case in subsequent versions. Users desiring CLI access should purchase other plans.
Note 3: THE DIXIE ENGINE DELETES RESULTS FROM THE SERVER AFTER SEVEN DAYS, SO WE STRONGLY ENCOURAGE YOU TO SYNC RESULTS LOCALLY ONCE ANALYSIS IS COMPLETE
Getting Started
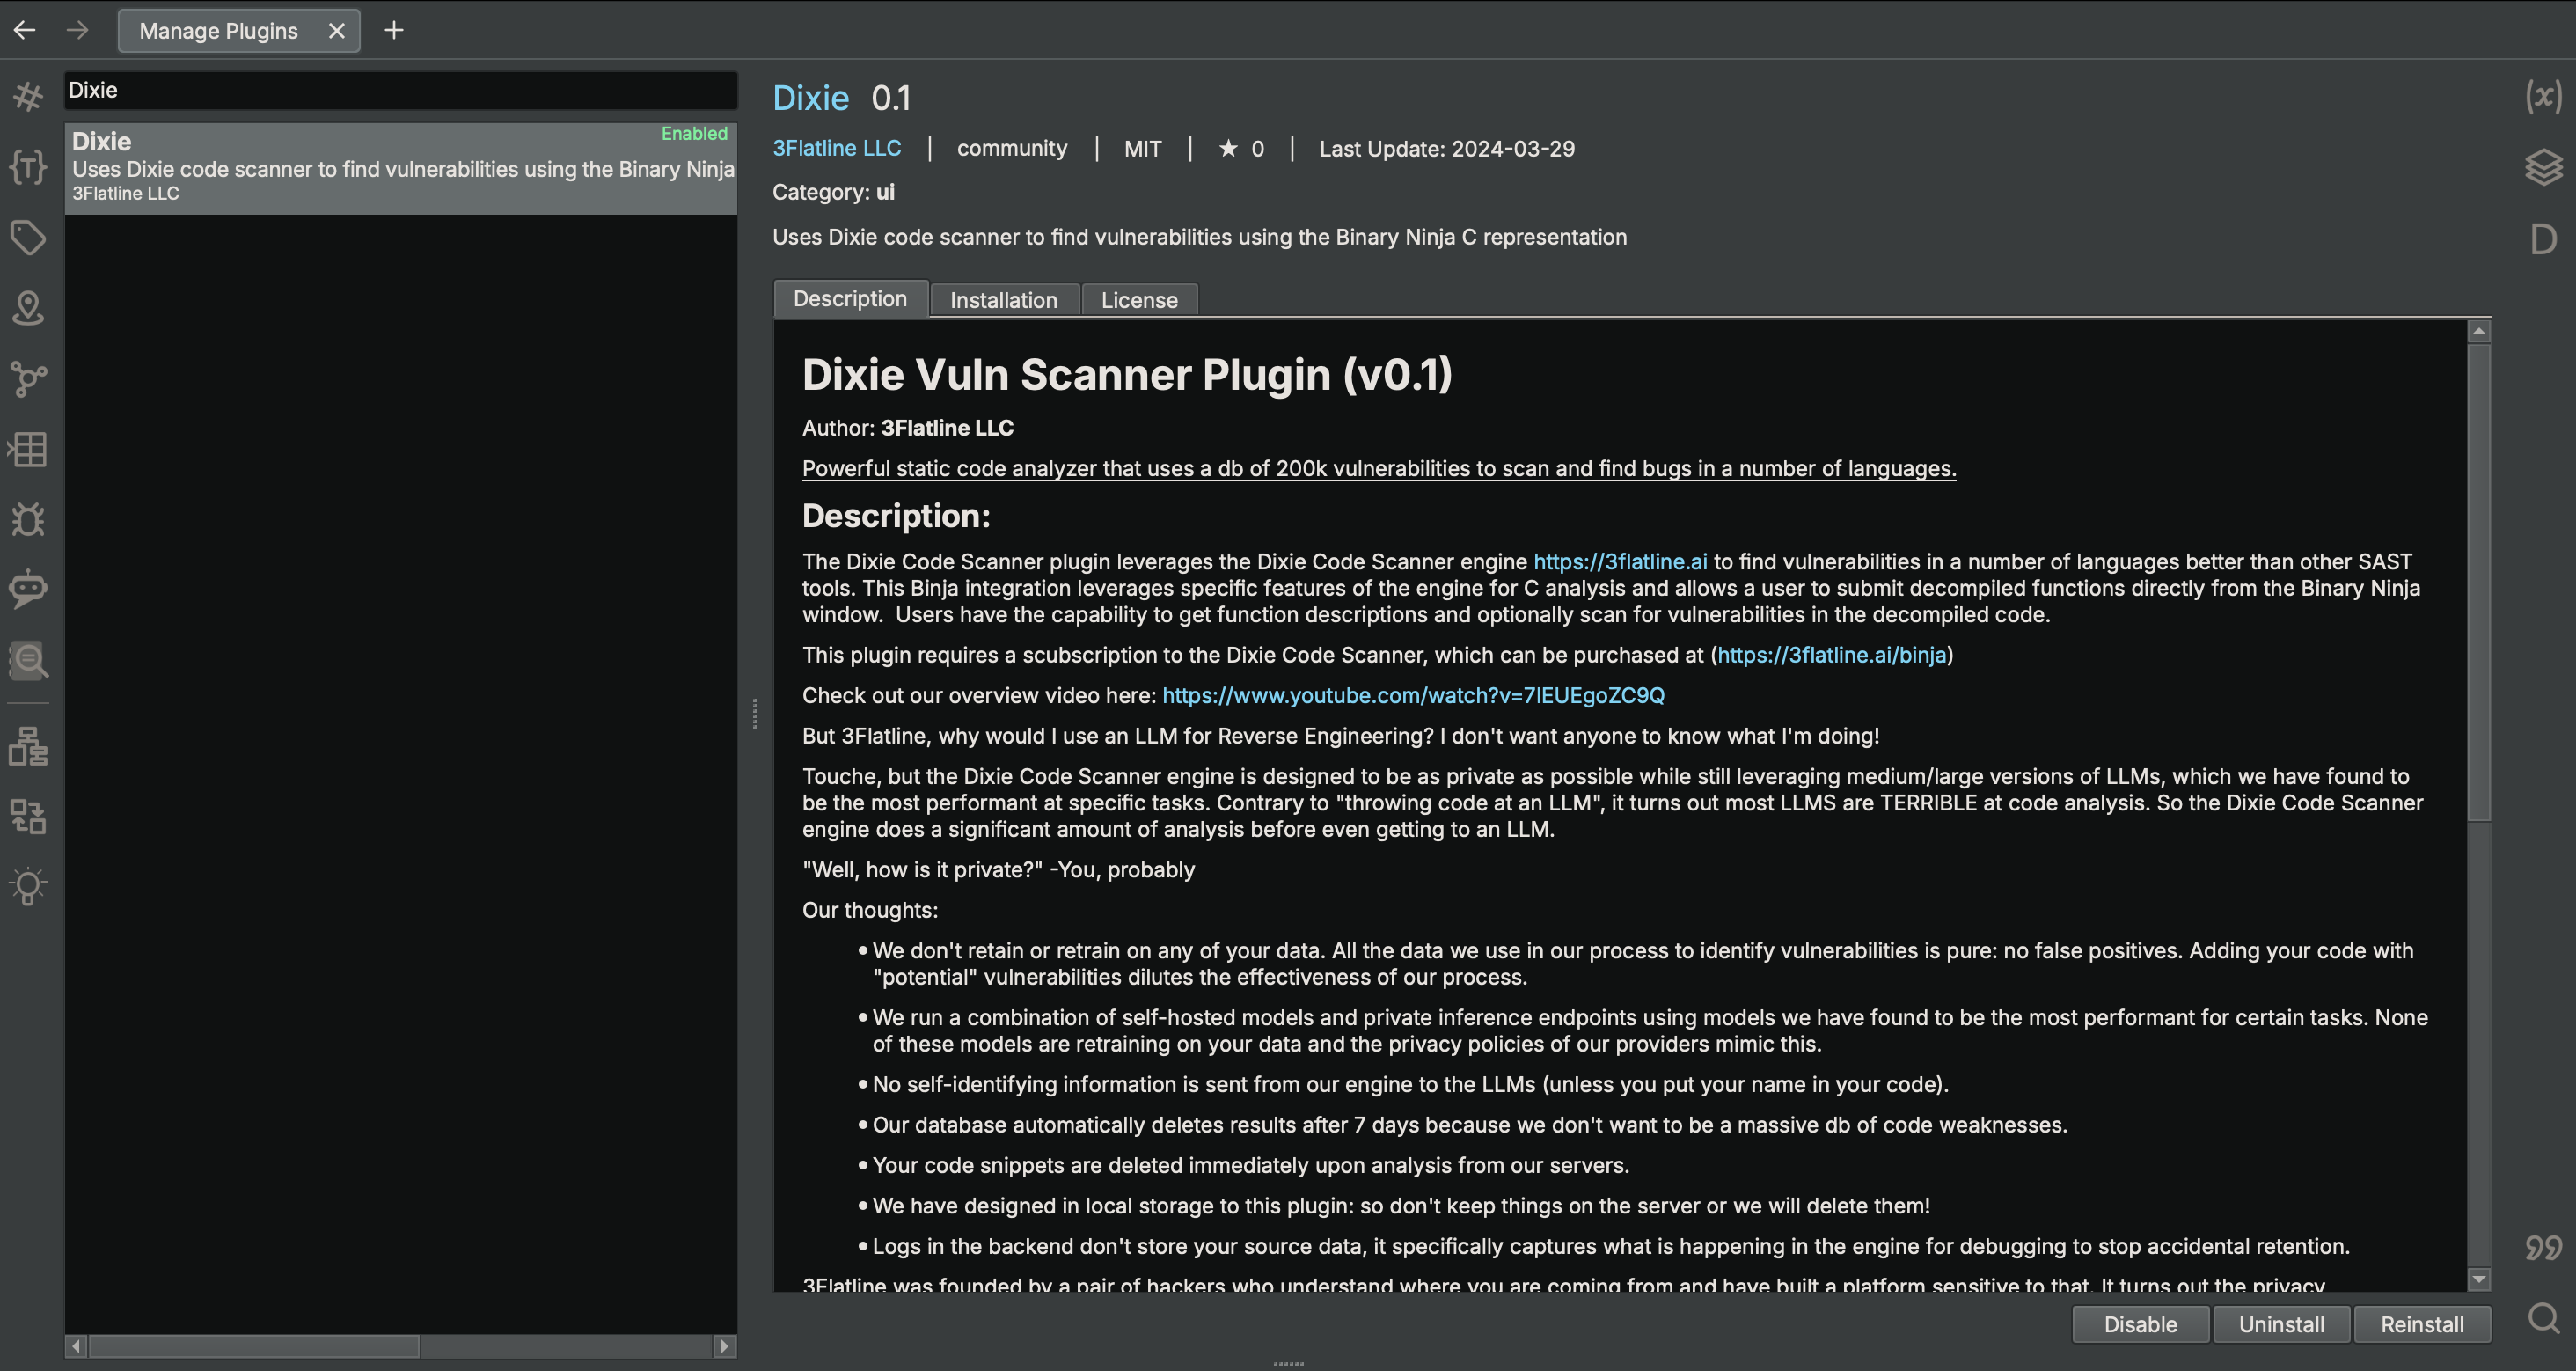
The Binary Ninja plugin can be installed by using the Binary Ninja native Plugin Manager. The name of the plugin to search for is "Dixie":
For details on installing binary ninja extensions see the Binary Ninja wiki here: https://docs.binary.ninja/guide/plugins.html
If you do not wish to use the Binary Ninja native plugin manager the source code can be downloaded from https://github.com/3Flatline/DixieBinjaPlugin and placed directly in the plugin folder for Binary Ninja. Additional manual installation instructions can be found at the binary ninja link above.
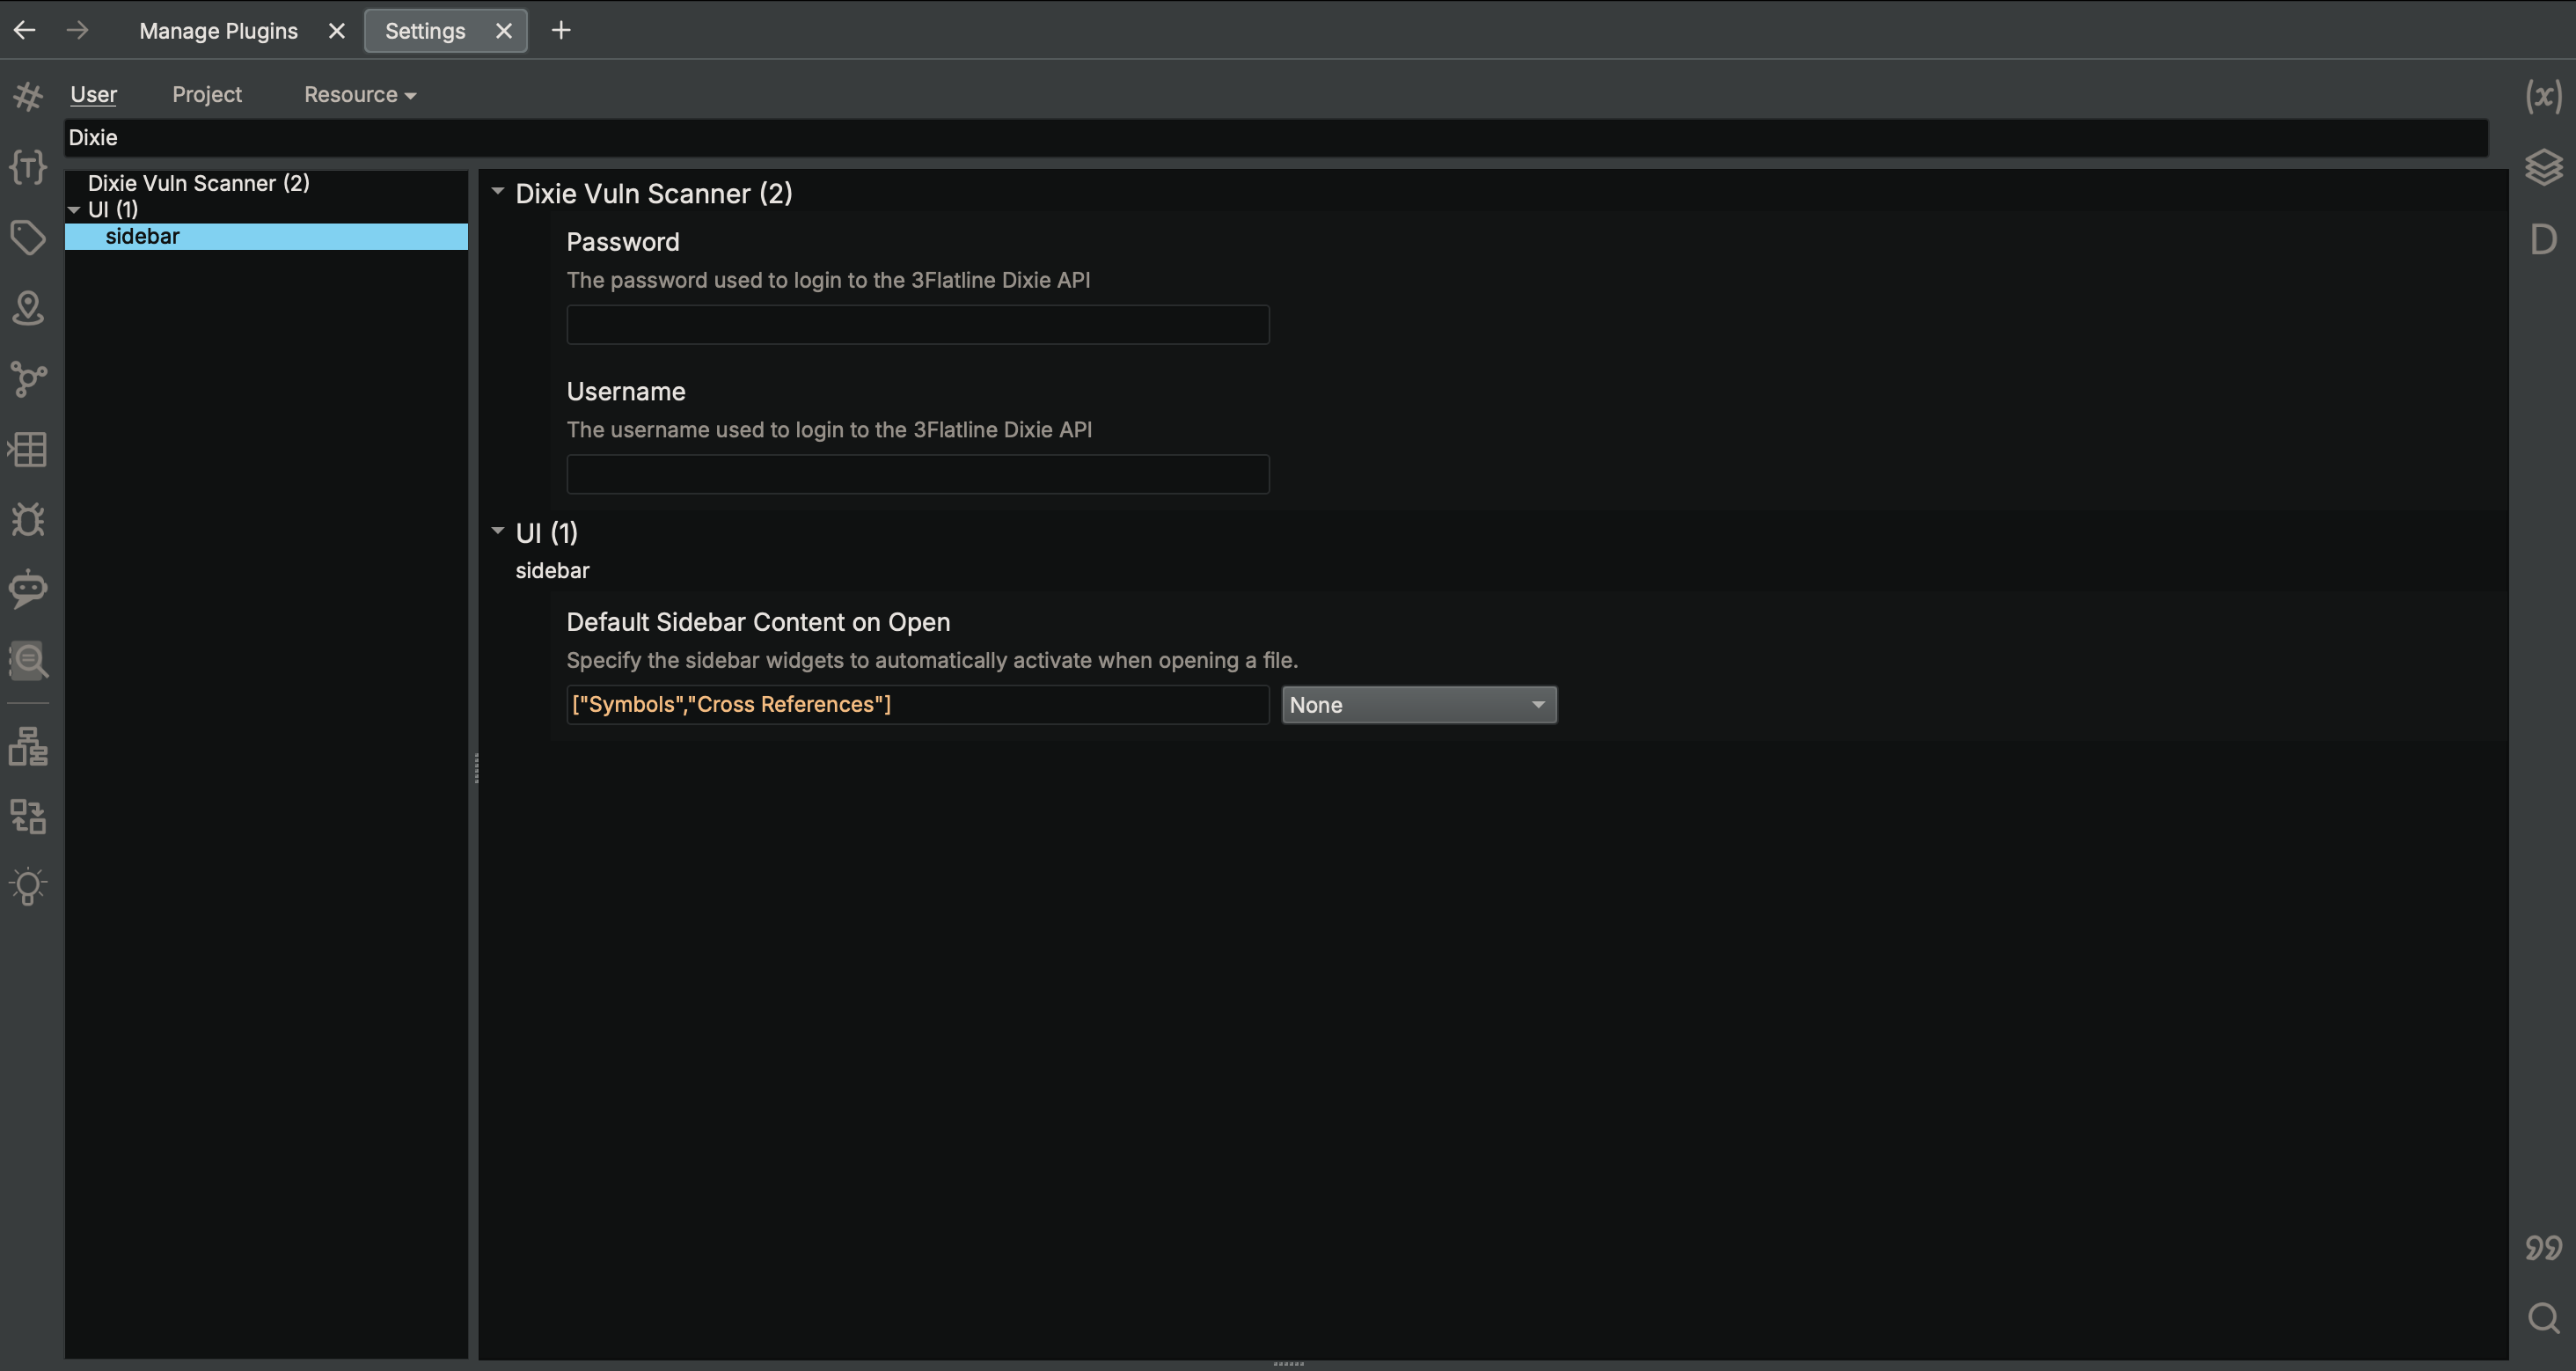
Configuring Credentials
Credentials for the Dixie engine are required before using the Binary Ninja plugin. If you have not purchased a subscription you can do so here: https://3flatline.ai/binja
Once you have purchased a subscription and created credentials for the engine you will need to store them in the Binary Ninja settings:
Using the Plugin
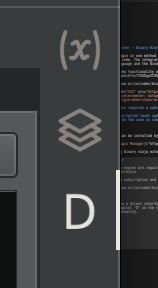
The Binary Ninja plugin is a direct interface with the Dixie engine and has similar functionality to the CLI. To activate the plugin in Binary Ninja click the capital "D" on the right sidebar (or elsewhere if you have moved it).
Icon:
This will activate the plugin and allow you to begin using the functionality.
Tab Breakdown
The Binary Ninja Plugin has four main tabs:
- Analysis Settings: View current functions, refresh the function list, select whether to scan for vulnerabilities, and submit analysis tasks to the Dixie Enginer
- Local Function Results: View any function analysis results previously saved to the BNDB, which is a local store of results that does not require internet access
- View Results: View all results stored on the server
- Manage Tasks: View a summary of the current tasks stored on ther server, delete old tasks, and sync function results locally for offline use
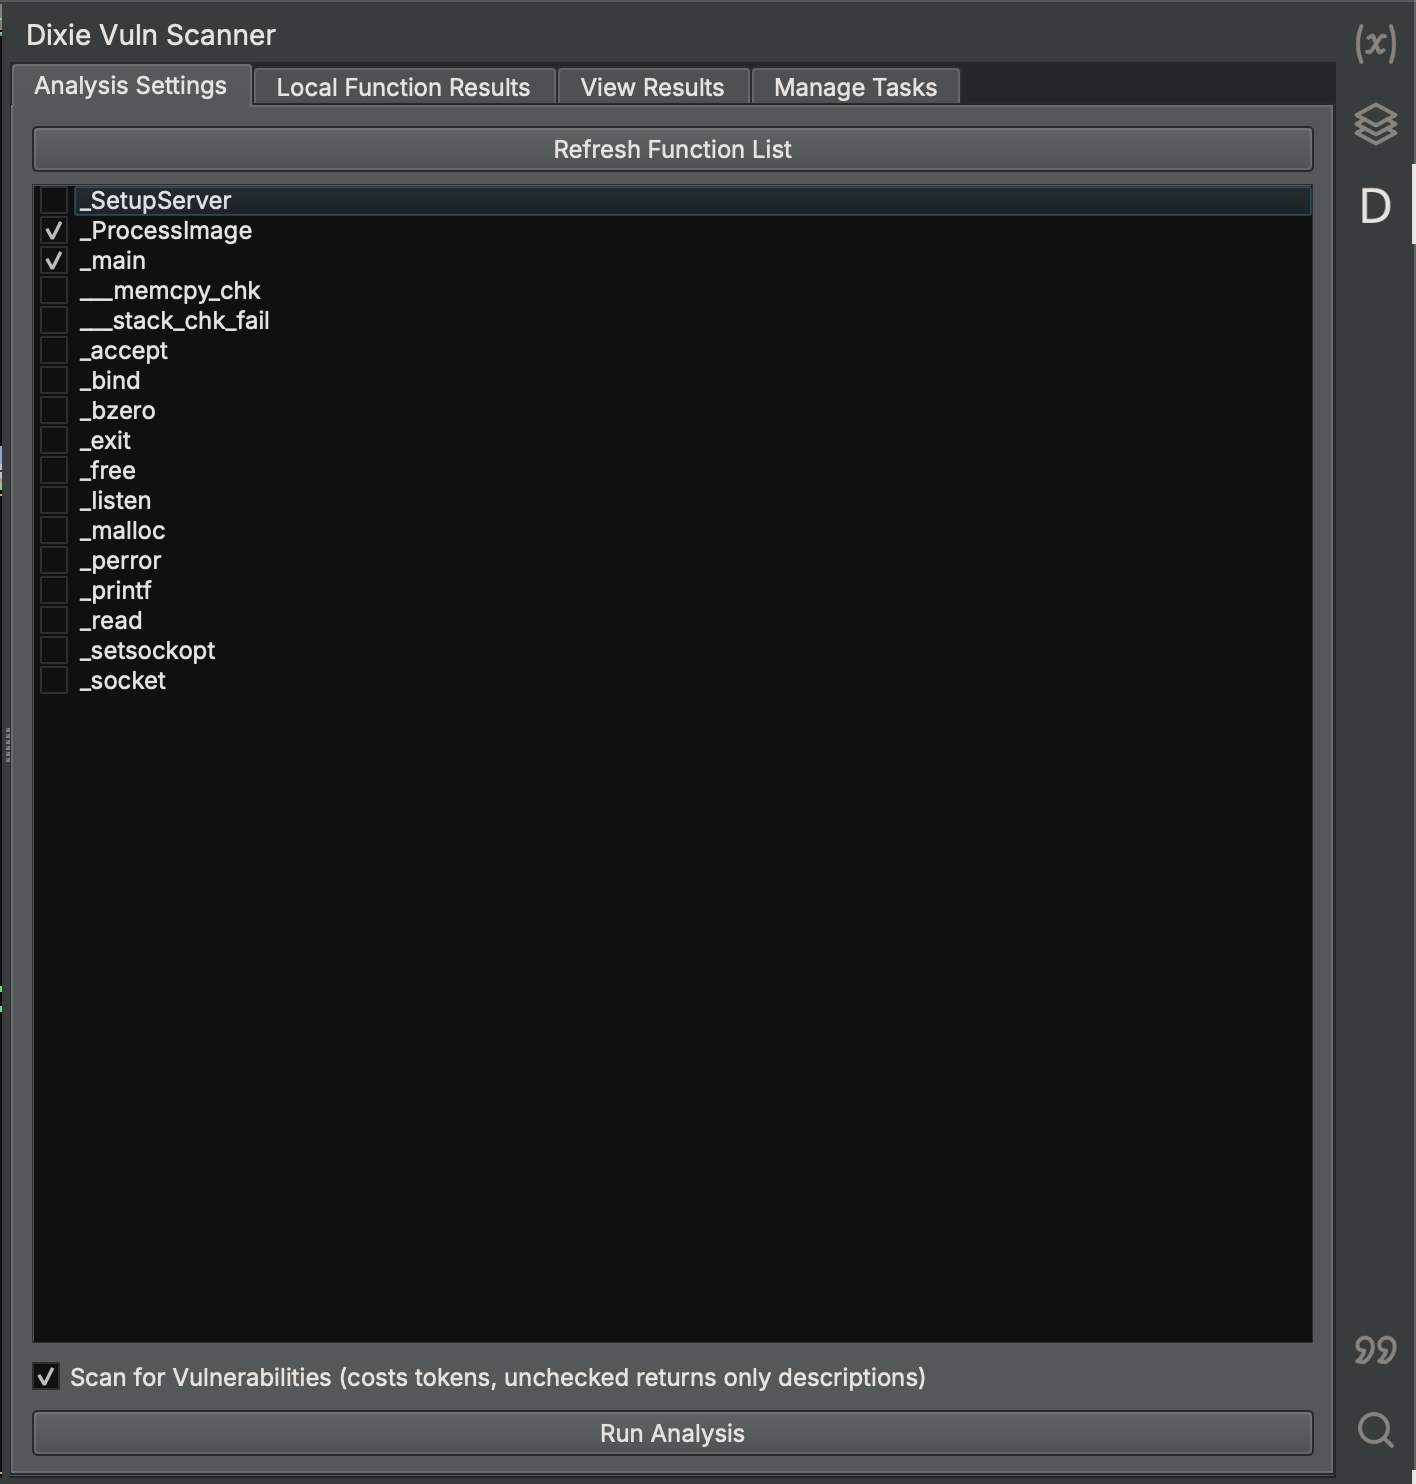
Analysis Settings
The analysis settings tab is the start of an analysis workflow. This tab directly imports function names from the Binary Ninja decompilation and allows you to select them for analysis. This list can be refreshed by clicking the "Refresh Results" button.
The initial analysis settings provides just a function description of the decompiled code. In order to find vulnerabilities as well, click the checkbox at the bottom of the tab that is labeled "Scan for vulnerabilities". This selection has a limit of 500k tokens per day that resets automatically.
When you are ready to start analysis and have selected all your desired functions, click the "Run Analysis" button at the bottom of the tab. Once the tasks have been created the results as well as current status can be checked on the "Manage Tasks" tab.
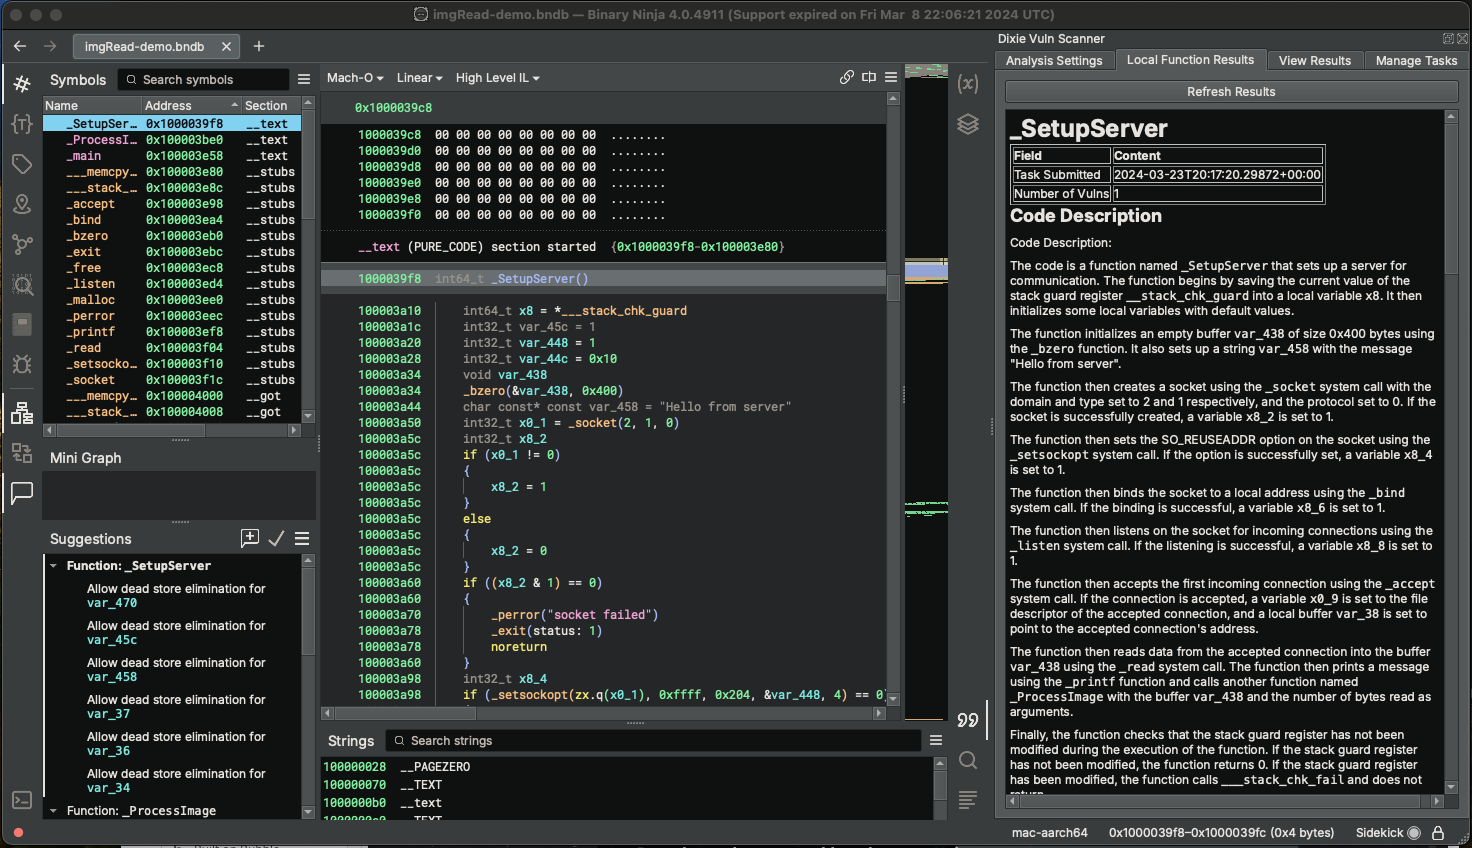
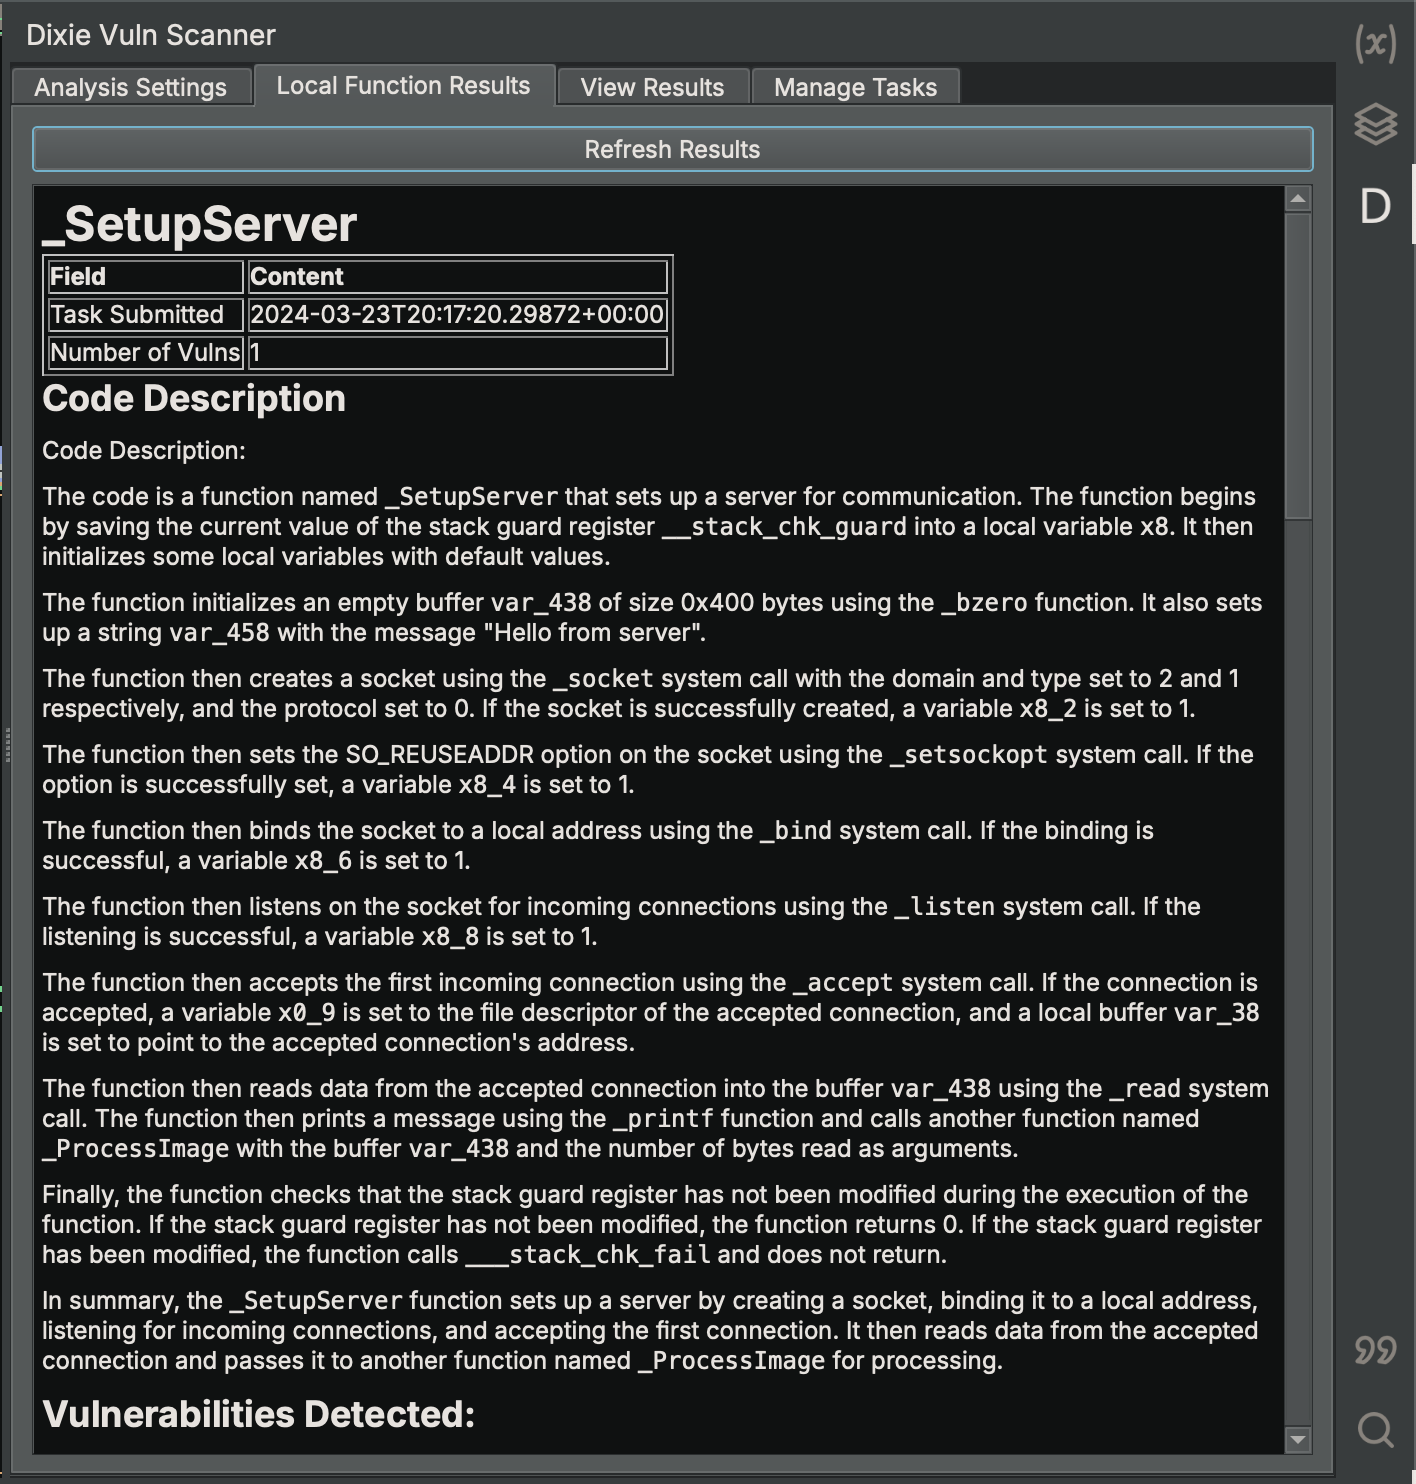
Local Results
The local results tab shows any previous analysis results that were synced from the "Manage Tasks" tab. This data is stored locally and can be refreshed by clicking the "Refresh Results" button.
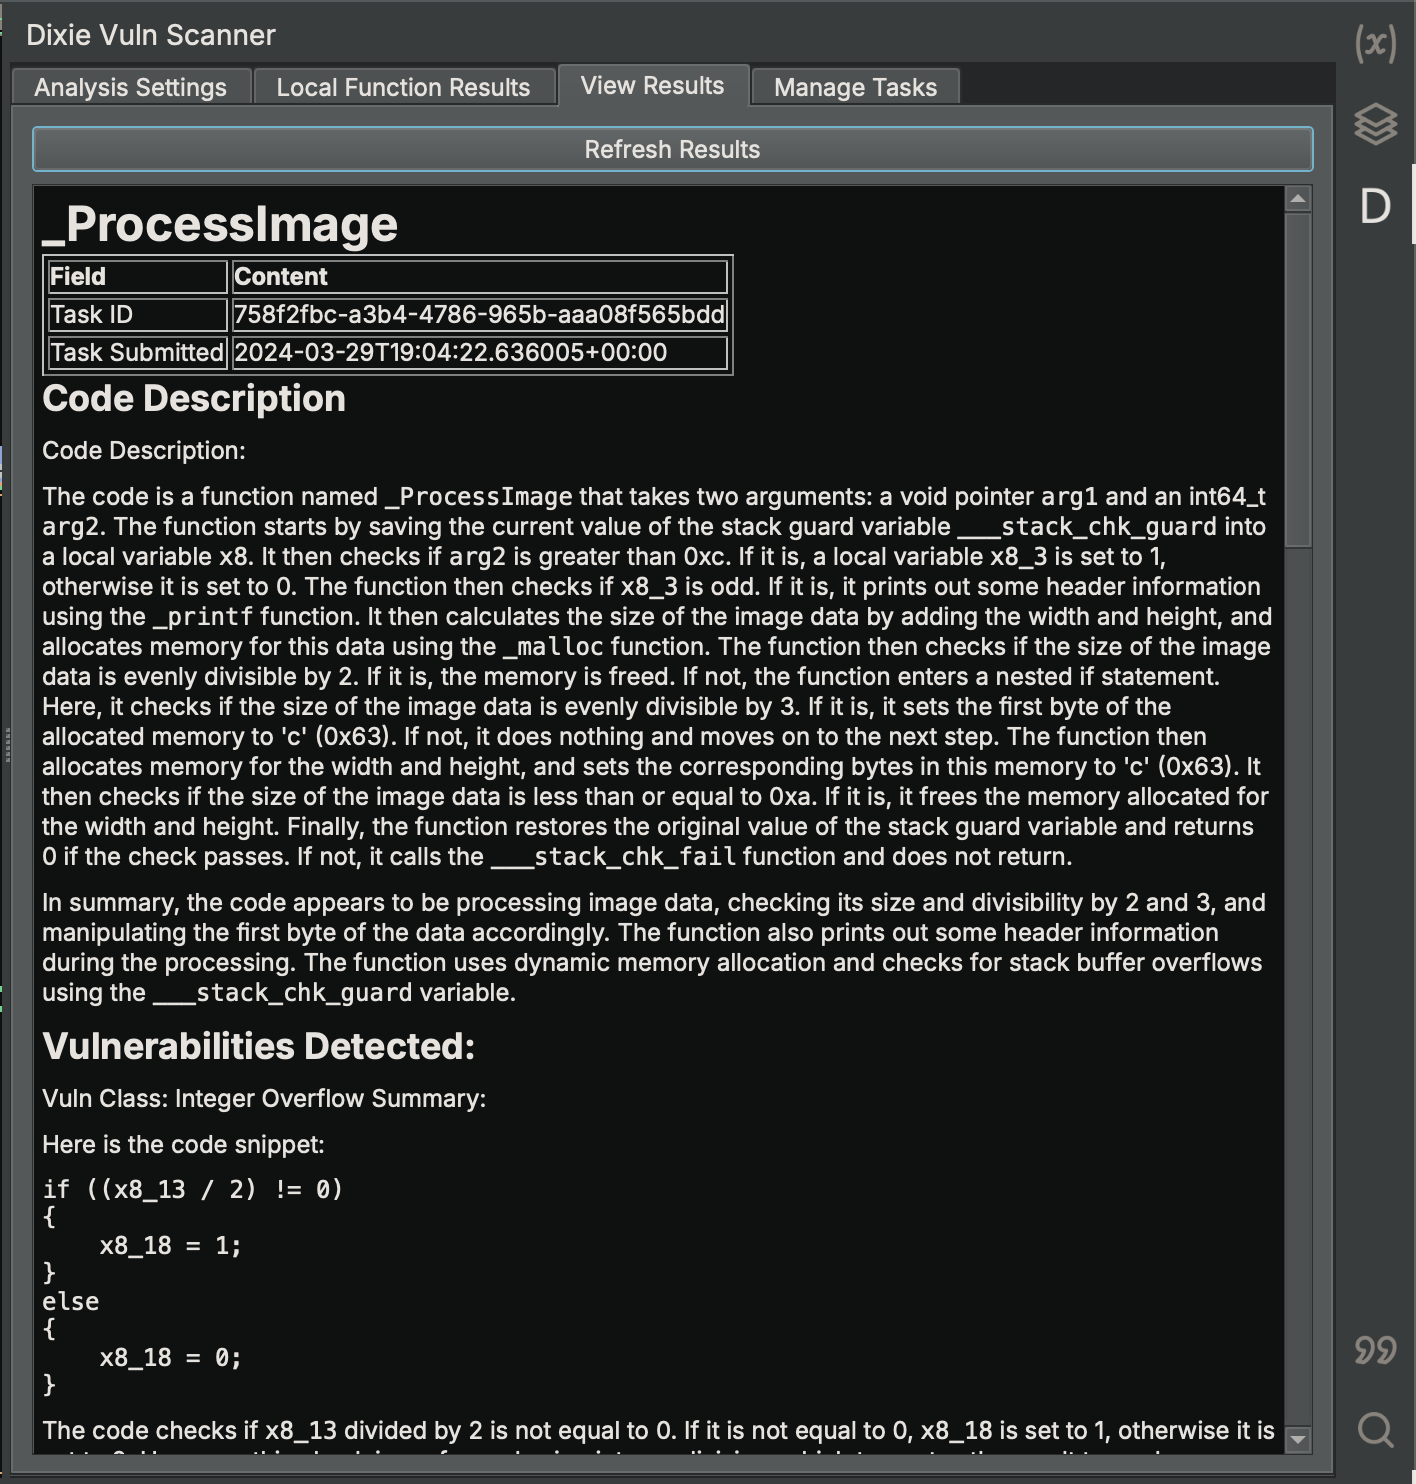
View Results
The view results tab shows the results currently stored on the server. It is a consolidated view of all analysis results stored on the server. You should note that each function can be analyzed multiple times, so if you find a specific result you would like to sync take note of the timestamp of the run for comparison on the "Manage Tasks" tab.
Manage Tasks
The manage tasks tab shows each task currently stored on the server. NOTE: Tasks saved on the server are deleted after 7 days, so be sure to sync your results locally if you wish to save them! To see all the tasks currently on the server, as well as check the status of recently started analysis, you press the "Refresh Tasks" button at the top of the tab. From there, if you wish to sync locally or delete any tasks, select them by clicking the checkbox next to eaach task, followed by the respective button at the bottom of the tab.

For any additional assistance or bug reports please email support@3flatline.ai